

Highlight Zone
Hi, how are you? I hope you are fine, and if you've been visiting my blog looking for some nice and easy tutorial and don't found any new tutorials, I'm sorry because I've not written in a while. I promise I will try to write more often :)
OK lets start...
It would be nice if you and me had an personal aircraft, don't you think so? just like famous rock bands like Iron Maiden. Lets dream a little and imagine... if you would have an aircraft you've probably were the pilot of the aircraft (although, that requires a lot of study and practice), you can fly everywhere you want and you can decorate and paint your aircraft with the colors, shapes, logos, and embellishments that you like the most. Dream just like Open Source Software is free after all :)
So for this tutorial I've drawn my personal aircraft and the name of my airline is "Cochesaurus Airlines", cool name huh. (FIGURE 1) (actually I've just modified an aircraft drawing that I did for the company that employs me).
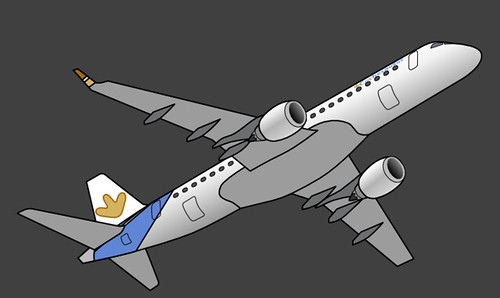
FIGURE 1 Cochesaurus Airlines - first aircraft.
Now that we have our aircraft drawing, suppose that we want to highlight a zone, maybe for identifying the location of a component, or perhaps a "bump" after our first flight (since we are learning to fly, maybe a bird hit our fuselage). Create a new layer (transparent) and pick the Ellipse tool and draw a circle on the desired location of your drawing. Keep the selection (keep the ants running) and prepare a nice color for your highlight (I prepared a nice green), using the foreground/background colors in your toolbar. Drag the new color from the toolbar to the selection. (FIGURE 2)

FIGURE 2 Drag the color to your existing selection.
Keep the "ants running" and go to menu Select > Shrink. In the dialog select 2 px. Now hit delete to erase the color (after this step you will get a "green ring"). Add a new layer and drag the same green color from the toolbar to the current selection in the new layer. Change the opacity to 40 for the new layer. Now stop the ants (go to menu Select > None). Select the top layer (which haves the semi-opaque green), right click it and select Merge Down, now our highlight zone is in only one layer. (FIGURE 3)

FIGURE 3 Our semi-opaque circle (the stroke is opaque and the fill is semi-transparent).
Rename the layer which contains the highlight to "highlight" and go to the menu Layer > Autocrop layer. Now comes the cool trick... Keep the highlight layer selected and go to the menu Filters > Distorts > Erase every other row. (FIGURE 4)

FIGURE 4 Erase every other row gives a nice touch to our highlight zone.
Erase every other row gives a nice effect itself, but maybe the color needs to be enhanced a little bit, so duplicate the highlight layer and change the layer mode to "Grain merge" for this layer. (FIGURE 5)

FIGURE 5 Enhance the colors using a duplicate of the original highlight layer.
And just like Michael Jackson, this is it. I hope you've enjoyed the tutorial, check the final image below. (FIGURE 6)

FIGURE 6 Our green highlight zone is complete!
* The aircraft showed in the picture is a "Embraer 190" a nice aircraft manufactured in Brazil.
** The highlighted zone is where the "Fueling Panel" is located in the aircraft.


/http%3A%2F%2Fstorage.canalblog.com%2F72%2F48%2F388561%2F52220951_o.jpg)
/http%3A%2F%2Fstorage.canalblog.com%2F92%2F09%2F388561%2F42595048_o.jpg)
/http%3A%2F%2Ffarm4.static.flickr.com%2F3393%2F3670028432_05bdb446c5.jpg)
/http%3A%2F%2Fstorage.canalblog.com%2F56%2F31%2F388561%2F37031471_o.png)